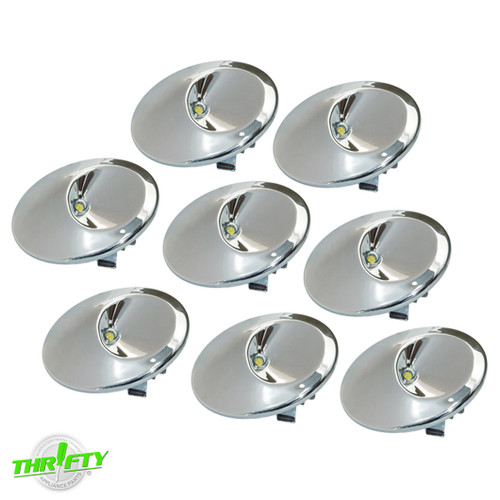
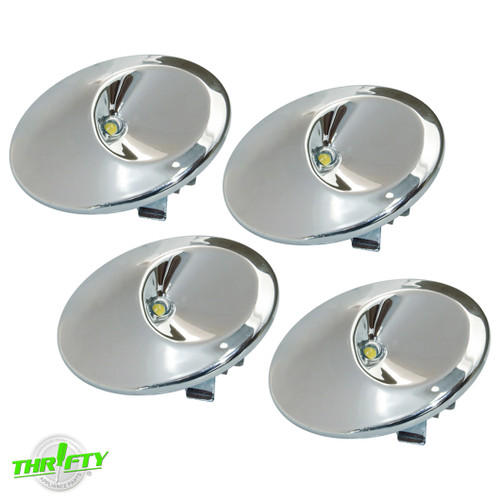
Replacement led light and trim assembly used for some GE refrigerator models.
Directly Replaces: WR55X11132, WR55X26487, WR55X30603, 3033142, AP5646375, EAP4704284, PD00030062, PS4704284.
Features:
- LED light and housing assembly.
- Typically used on side by side units.
- Includes (8) LED Light Board and Trim Assemblies.
Specifications:
- Color: Chrome.
- Material: Plastic.
- Finish: Glossy.
- Dimensions: 1-5/8"L x 13/16"W x 1-3/8"H.
*Some refrigerator LED lights operate in a series and tend to go out at the same time. Please be aware that it may take replacing multiple or even all LEDs within the series to completely resolve the lighting problem.
**Lighting color may vary slightly from the original.
NOTE: Due to the sensitive nature of this item, it comes sealed in an anti-static bag. This bag safeguards the part from static build-up that can be damaging to it's electronic components. Because of this, we are unable to accept returns for this part once the anti-static bag has been opened.
Compatible Models:
Don't see your model listed? Submit this form to get help finding the right part.
Failure Symptoms: One LED light is out and others are dim / flickering / strobing. Multiple LED lights are strobing / flickering / out.
How to Test: If one LED light module is completely out it can cause other lights on it's circuit to display lighting problems. Replace the LED module that is out. If the other affected lights are in the same circuit as the LED module that is out, they will likely be fixed once the new LED is installed.
If multiple lights are strobing / flickering / out at the same time, you will need to test them to find out which module is defective. In these light circuits there is one main LED board / module that takes the power and converts / sends it to the other light modules in the circuit. Typically, this will be the light module located at the top of the fresh food section. Through the process of elimination, start testing each of the secondary LED modules in the circuit to determine if one of those is the problem or if the main LED module is problem.
We would recommend starting with the LED module located in the freezer section (if this is one of the affected LEDs). The freezer LED module is commonly the first one to fail.
- Find the freezer door switch and tape it down.
- Locate and disconnect the freezer LED module, being careful to use the disconnect tabs on the plug and not yanking the module free. This would elongate/damage the pin connectors on the module and cause it to be defective.
- Use a jumper wire in place of the removed module to complete the circuit. If the other lights in the circuit start working normally, then the disconnected module should be replaced. If the problem persists, reconnect the module and move on to the next module in the circuit.
- When moving from the freezer section to the fresh food section, remove the tape from the freezer door switch. Then locate and tape down the fresh food door switch.
- Continue testing the secondary modules in the circuit to determine if any of them is the defective light. If you have removed each of the secondary LEDs, replacing them with the jumper, and the problem wasn't resolved with any of them, then the main LED board / module should be replaced.
Disclaimer: Information and recommendations contained herein are believed to be accurate as of the date hereof. Since the conditions and methods of use of the information referred to are beyond control, ApplianceRepairForum.com and Thrifty Appliance Parts LLC, cannot be held liable for results obtained or arising from use or reliance on such information.
The User assumes responsibility associated with making test measurements, adjustments, parts replacements and any other action necessary to perform any recommended procedures. It is the responsibility of the User to ask for clarification if a recommendation is not fully understood, including the risks and hazards associated with the recommended procedures.
-
Replacement lights
Perfect replacement light for the fridge and great price. Quick delivery.


